How To Install a WordPress Theme
There are a couple of options on how to install a WordPress theme for your website:
- Download a zipped theme from the Internet onto your local computer, then upload it via the WordPress Dashboard.
- Search for a theme via the WordPress Dashboard Themes section.
Install Theme via WordPress Dashboard
WordPress allows you to search for themes based on specific keywords and features. To begin searching from your WordPress Dashboard:
- In the left-side navigation menu, click Appearance and then select Themes, and it will display any themes you have installed already.

- Click the Add New Theme button.

- Above the themes is a toolbar with some quick search options including, but not limited to, Popular, Latest, Premium, and to the far right is a search box.

- You can click on Feature Filter options or type a keyword, author, or tag in the Search Themes box.
- Hover over a theme, click Preview, see a preview of the theme applied to a blog, or click Install to install the theme.
- Once the theme is installed, you'll have the option to Activate or do a Live Preview of the theme before installation.
- Clicking Activate will replace your current theme but not the content. It will change the layout of already published content based on the new theme’s structure. Some themes break the website structure and layout completely. Be ready to correct such anomalies.
- Clicking Live Preview will let you see what your site would look like using that theme without making any actual changes to your live website. If you like the theme's look, you can modify it here and then click Activate & Publish to apply the theme to your live site.
Downloading and Installing a Theme
You also have the option of purchasing or downloading themes from a third-party website. After downloading a theme, there are two possible ways to install the theme on your WordPress site: using the WordPress theme installer or doing a manual installation.
Note: Not all WordPress themes are compatible with the latest version of WordPress. Be sure the theme being installed is compatible with the version of WordPress installed.
- WordPress Theme Installer
To install a downloaded WordPress theme with the WordPress installer:
- Log in to the WordPress Dashboard via https://example.com/wp-admin.php or https://example.com/wp-login.php. Simply, type this in the browser URL address bar: https://example.com/wp-admin and provide the username and password created during the installation of WordPress.
- From the left-side navigation menu, click Appearance and then Themes.

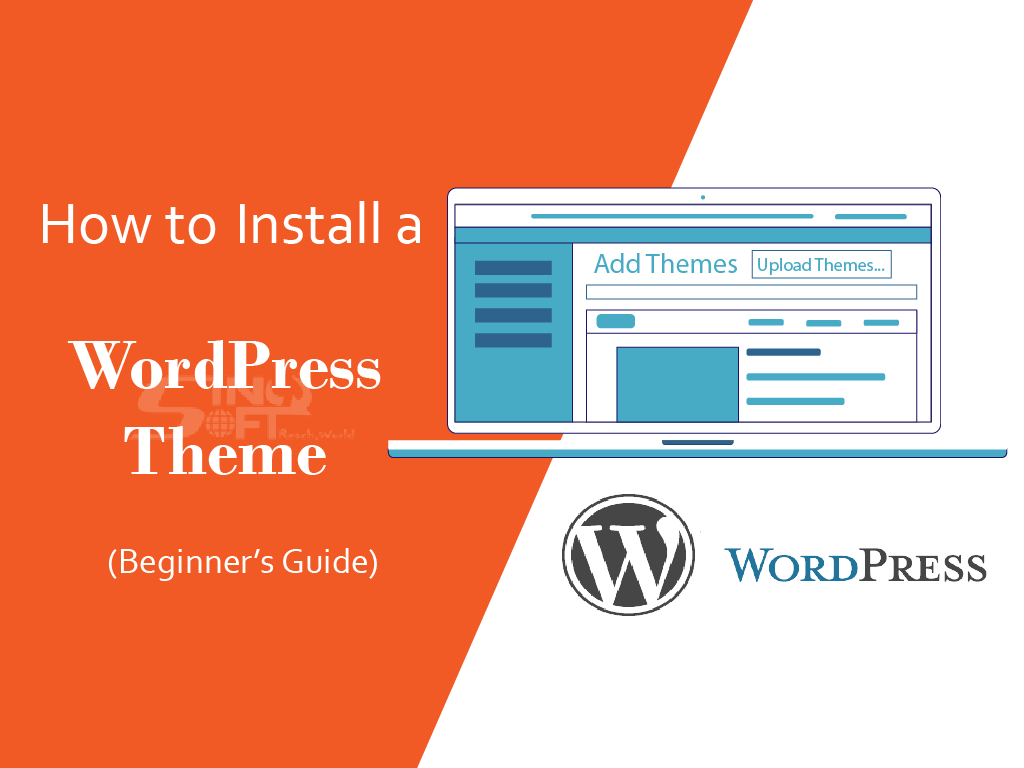
- Along the top of the screen, next to WordPress.org Themes, click the Upload button.
- Click Upload Theme next to Add Theme.

- The page will expand, displaying a box where you can select and upload your theme. Click the Choose File and navigate to the appropriate file on your computer.

Note: Themes should be uploaded as a .zip file. Do not extract the file before attempting to upload it.
- Once you've selected the file to upload, click Install Now.
- Once the theme is installed, you'll have the option to Activate, do a Live Preview of the theme, or return the Themes page.

- Clicking Activate will replace your current theme.
- Clicking Live Preview will let you see what your site would look like using that theme without making any actual changes to your live website. If you like the theme's look, you can modify it here and then click Activate & Publish to apply the theme to your live site.
Manual Install
If the WordPress theme installs experiences issues, it is possible to manually install a theme by uploading it directly to your server.
To manually install a WordPress theme, you need to upload your theme directory to your WordPress themes directory:
- Open File Manager in cPanel or connect to your server with an FTP client.
- Navigate to the themes directory inside of the wp-content directory in your WordPress document root:

- Click Upload in the top bar and then click the Select File button.

- Select the .zip file for your theme and click Open. Once the file is uploaded, the progress bar will turn green and show 100%.
- Return to the main File Manager window. Select the file you uploaded and click Extract.

- You will need to add the name of your theme to the end of the directory string. Hence, modify the /public_html/wp-content/themes to read /public_html/wp-content/themes/nameOfYourTheme and then click Extract File(s).
By default, the root directory for your primary domain is /public_html/. If you have WordPress installed in another directory, adjust the above directory to reflect that and replace /nameOfYourTheme with the actual name of your theme to identify it in the WordPress Admin Dashboard.
- The Extraction Results will display. Close the pop-up box and refresh your page to see the new theme in the folder.
- Finally, delete the zip file or move it to another folder; otherwise, you may have a file show up as a theme in the WordPress Admin Dashboard.
After successfully uncompressing your theme into the WordPress themes folder, you can activate it using the following steps:
- Log into your WordPress Dashboard
- Hover over to Appearance then select Themes from the left-hand side menu.
- Hover over the theme you uploaded (verify by the name you gave it). You will have the options Activate and Live Preview.
- Clicking Activate will replace your current theme.
- Clicking Live Preview will let you see what your site would look like using that theme without making any actual changes to your live website. If you like the theme's look, you can modify it here and then click Activate & Publish to apply the theme to your live site.
Credit: Hostgator


