If your social media strategy hasn’t changed, your results won’t either. AI is changing workflows, customers are discovering brands differently, and authenticity matters more than ever. Here are ...

14Jan


Google Analytics 4, also called GA4 was released in October 14th, 2020. It was previously known as App > Web property within your Google Analytics account. Analytical data and traffic umbers form your website can give you an insight into all sorts of statistics that can be used for marketing, interaction, SEO, social media and much more. The Google Analytics 4 update bring great features to take advantage of including:
Note: The rest of the tutorial assumes you already have Google Analytics set up on your WordPress website.
Log in to Google Analytics homepage using the Google account you used to set it up. This will give you access to the Admin dashboard.
From your Analytics dashboard, you’re to create a new GA4 property. You can either click on Admin > Create Account, or select an existing account that you want to set up the new property on.
With the assumption that you already have a Google Analytics account, we are going to simply click on “Create Property” on an existing account.
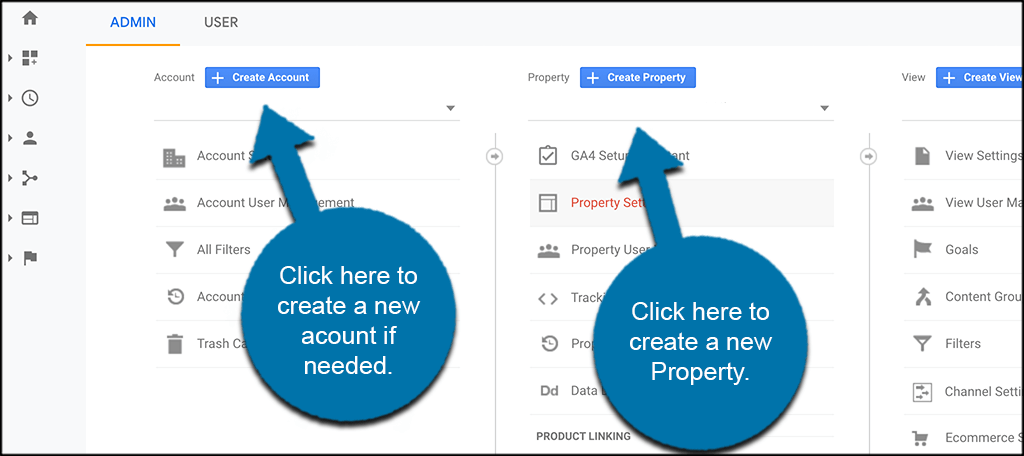
Clicking on the “Create Property” button will take you to the Property Details page. Here, you can add all the relevant property information needed.
Go ahead and name your property, report a time zone, and add any other relevant details that are needed. Fill the information requested here as appropriately as deems possible.
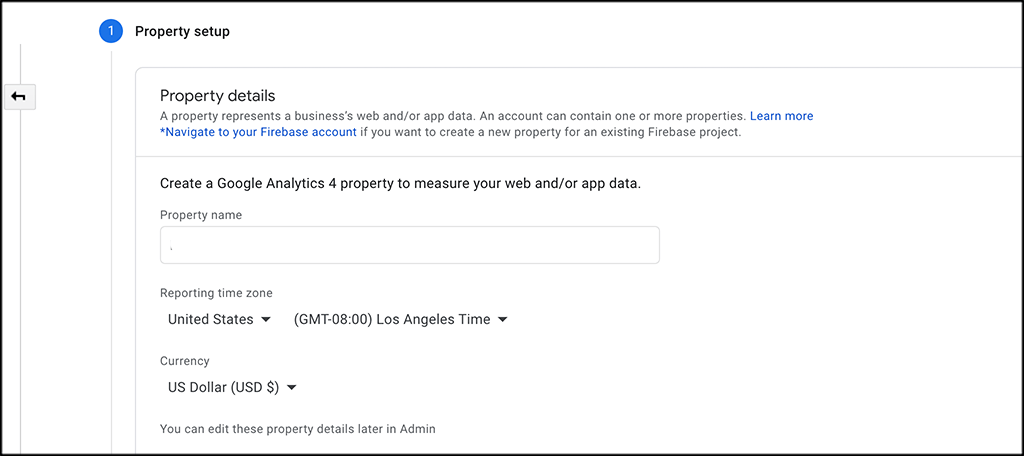
When you are finished, click on the “Next” button to move forward. This takes you down to a few more details you may want to add. This includes business size and a couple of other questions. You can fill this out how you see fit.
When you are done, click on the “Create” button at the bottom of the page.

At he “Data Strems” page, you will see that there are three options different options available.
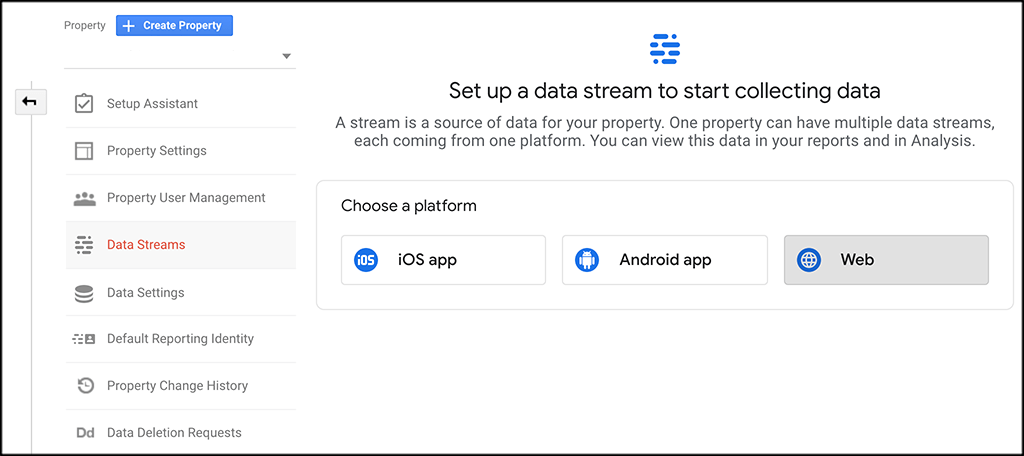
When you click on the Web option, a screen pops out to allow you to set up your web stream. Go ahead and fill out all the relevant information to create the stream. This includes adding your URL, giving your stream a name, and adding or subtracting any enhanced measurements you want.
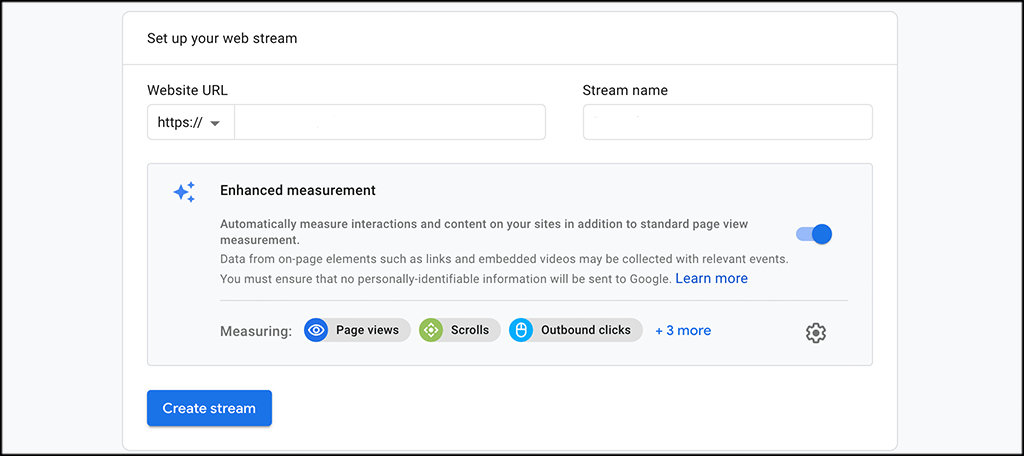
Click on the “Create Stream” button when you’re done.
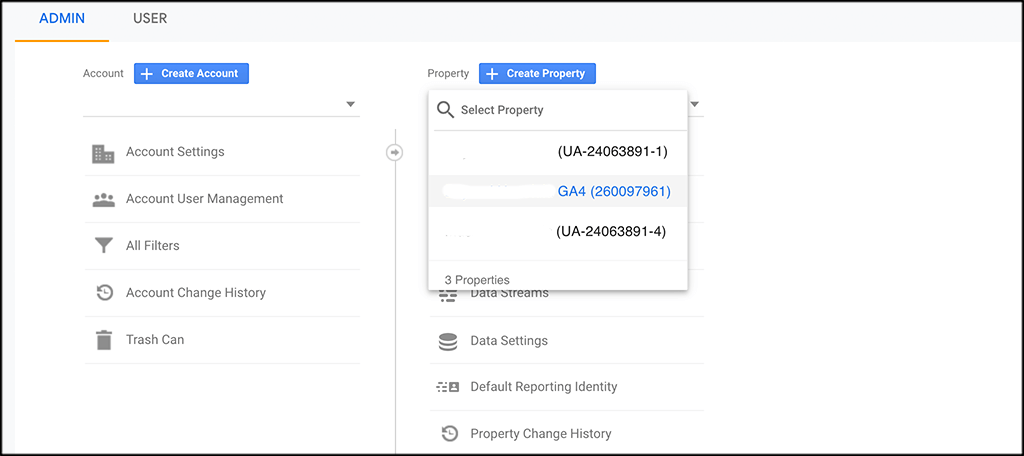
Go back to your existing Universal Analytics (UA) property by clicking on the Admin button and then select UA Property from the drop-down.
Now, click on the “Tracking Info” option, and in the drop-down menu select “Tracking” code.
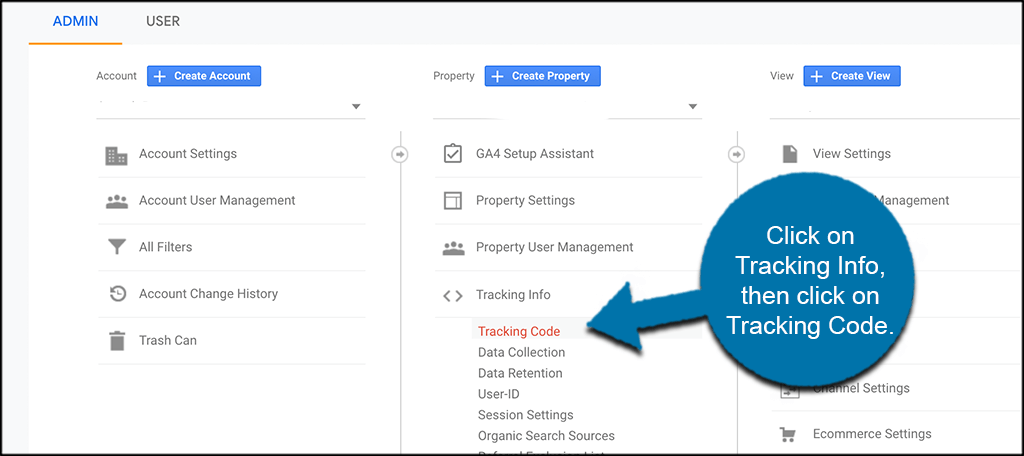
On the screen that pops up, copy your tracking code so that you can have it.

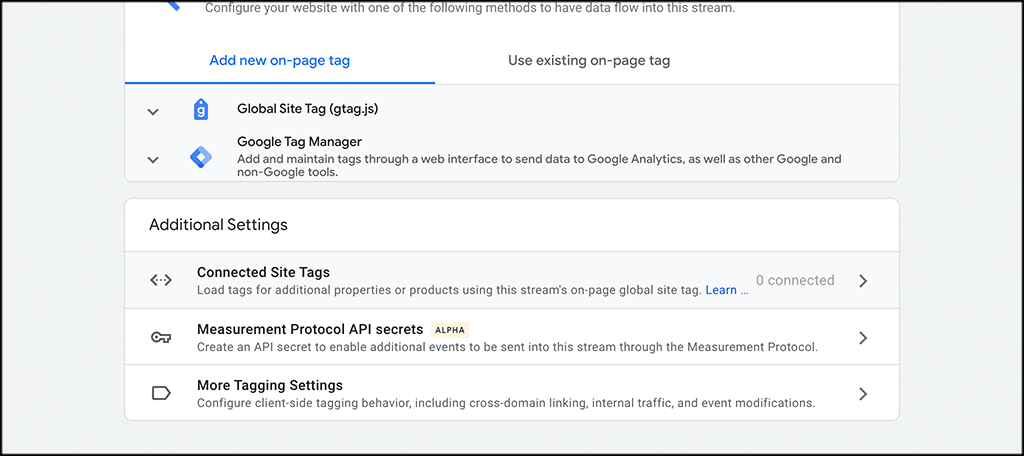
Finally, switch back to your new GA4 Property by selecting the new GA4 Property from the drop-down. Then click on the stream you created above, and look for “Connected Site Tags”. Click on it.
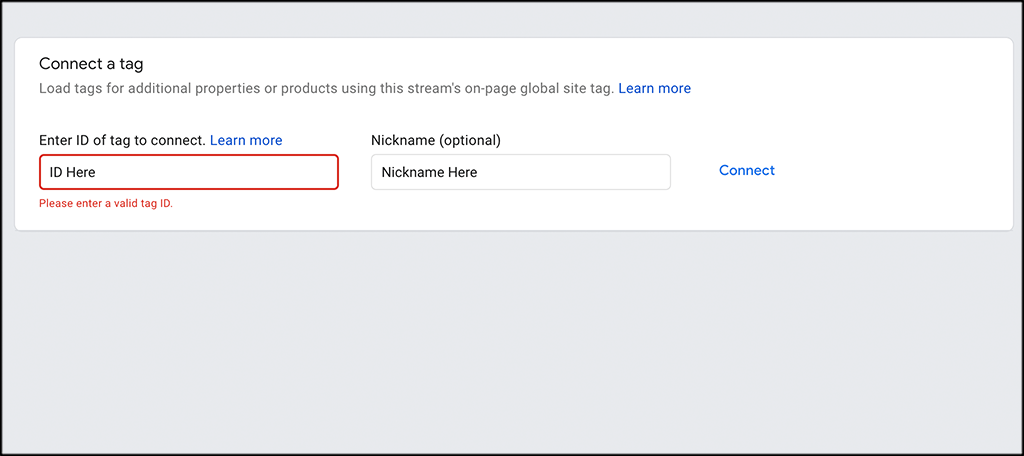
Enter or paste the tracking ID that you copied above, give it a nickname, and then click on “Connect.”
You need to install the tracking code on your WordPress site and then you will start receiving all the data and analytics that come with Google Analytics 4.
From your web stream, click on the “Add new on-page Tag” option and Select Global Tag (gtag.js).

Copy the tracking code. Now, to your site to add the code.
Note: You can enter the code into the “head” section of your website. Again, you can go straight into the Theme Options and add the code, or you can do it by using a plugin that gives you easy access to add code to the head.
Log in to your WordPress admin dashboard and paste the code into the head of your site as described in the note above. Click on the “Save” button to save your code.
You can do this by using a plugin like Insert Header and Footer or MonsterInsights. This lets you place code directly into those sections of WordPress. Or you can manually place the code into your site files.
Credit: GreenGeeks


Thanks for sharing. I read many of your blog posts, cool, your blog is very good.
I’m really enjoying the design and layout of your website. It’s a very easy on the eyes which makes it much more pleasant for me to come here and visit more often. Did you hire out a designer to create your theme? Fantastic work!

Hello Imol, We are humbled and grateful, thank you for your positive feedback our website was designed by https://sinosoft.guru you may reach put if you need similar services. God bless you in Christ Jesus
Thank you very much for sharing, I learned a lot from your article. Very cool. Thanks.

Hello Nimabi,
We are glad you’ve learnt from our blog article. Thank you
Quite informative, this is the best time to shift to GA4, well elaborated step by step guide. Thank you Sino Soft

Your article helped me a lot, is there any more related content? Thanks!